Proxy configuration in Proxifier
 Proxifier is a great tool using which you can force programs that by default are not able to work through proxy servers to work with them.
You can download Proxifier on the official website – proxifier.com
This software does not have support for Russian users, so there are often questions about how to configure it. In this article we would like to tell you how to use the Proxifier
Proxifier Setup
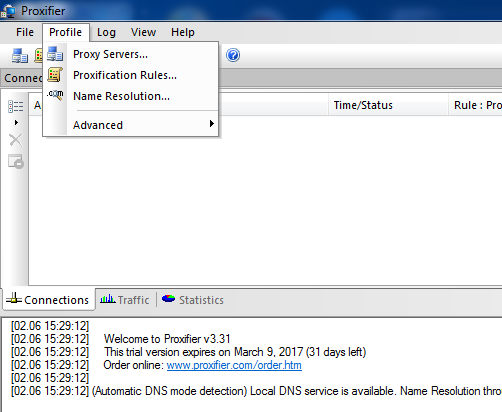
First of all, after we run the program we need to configure it to work with a proxy.
In the menu, open the “Profile” section and select “Proxy Server”
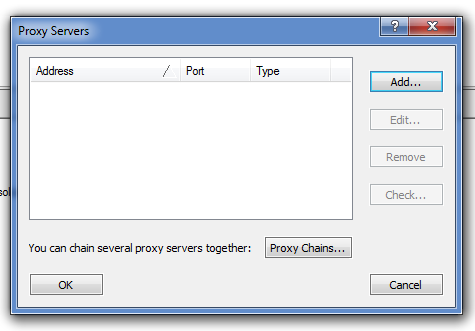
In this window, click on the “Add” button
Next, in the “Address” field, we need to enter the address of our proxy (for example, Netherlands proxy), in the “Port” field, enter the proxy port. Below, select the desired Protocol. Our proxies support both protocols, so if you get a proxy from us, you can choose any convenient Protocol for your work.
Authentication field is required if your proxy has authorization by login and password. The “Enable” button is responsible for enabling authorization by login and password in the program. If you put a tick in this field, then below, in “Username” and “Password”, you should enter the login and password of the proxy, respectively.
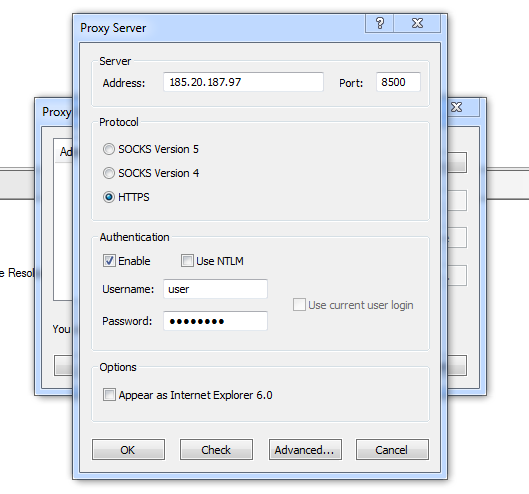
After filling in all the fields, click “OK”.
By clicking on the “Check” button we will be able to check whether we have configured our proxy server correctly or not.
If everything is set up correctly, the result will be the same as shown on our screenshot.
Before you buy a proxy server for Proxifier you need to remember that the program supports only IPv4; IPv6 will not work with it.