How to set up a proxy server on Android
 Proxy server is configured in all operating systems of computers and mobile phones, and in several ways. On Android, proxies can be set up through the default settings or with the help of applications. In this article, we will tell you how to set up a proxy on Android using special applications.
Setting up proxies with apps
We will show the proxy configuration using two programs: ProxyDroid and Drony. In them you will connect both “Socks” and HTTPS proxy.
ProxyDroid
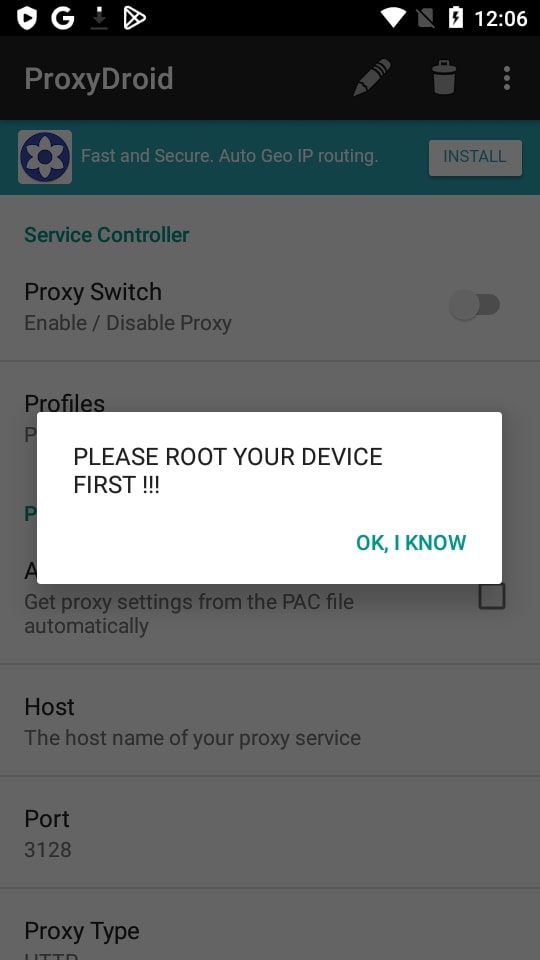
Works only with root rights. If you do not have them, the application will periodically remind you that it will not work without superuser rights
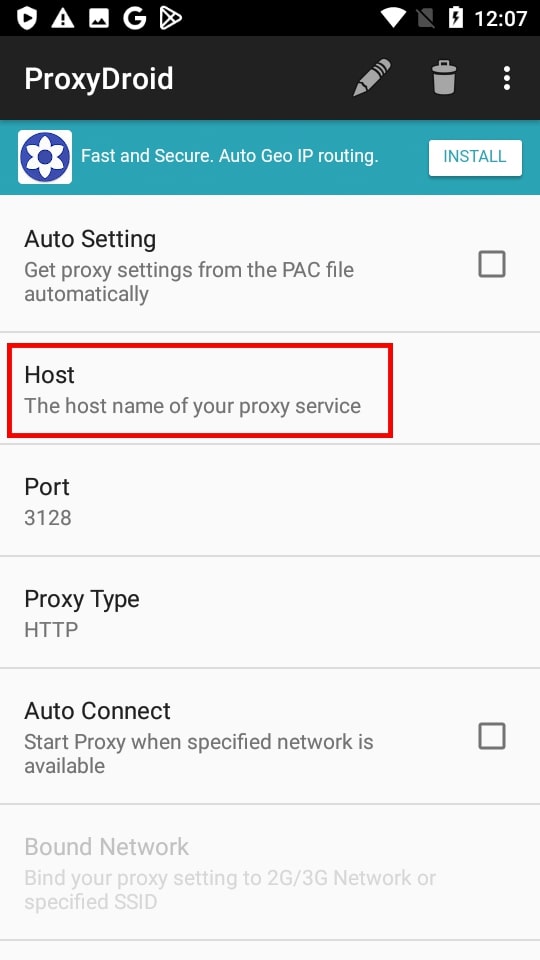
The proxy configuration algorithm in Proxydroid is as follows:
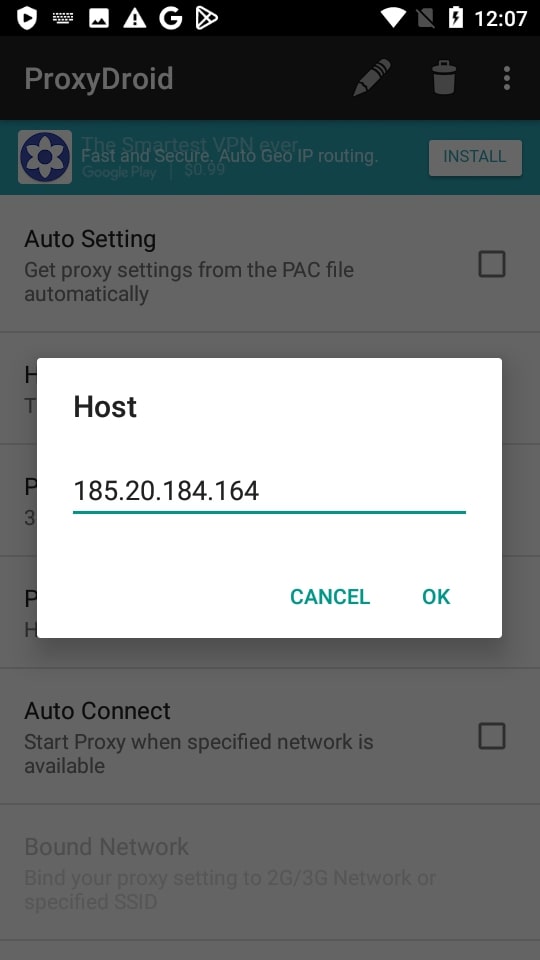
- Open the application, tap the “Address" and enter it.
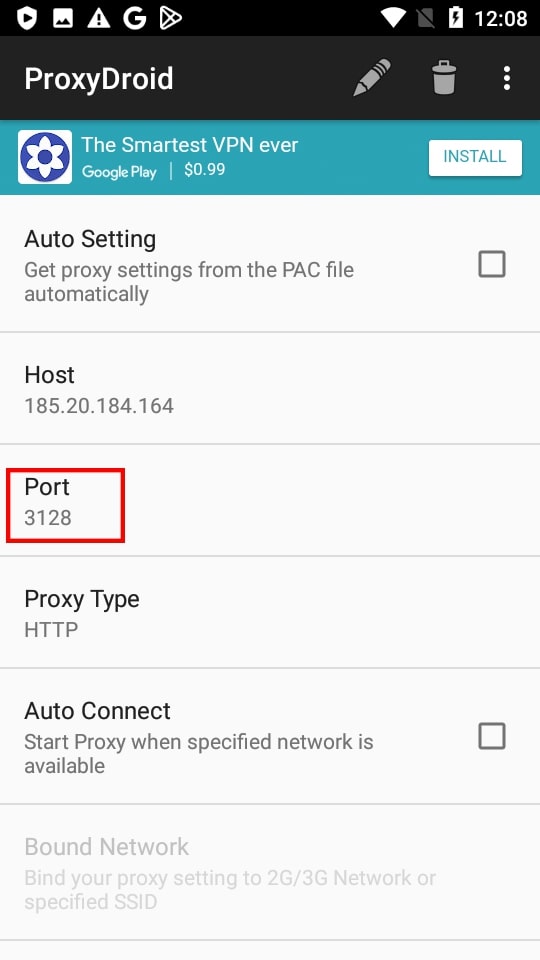
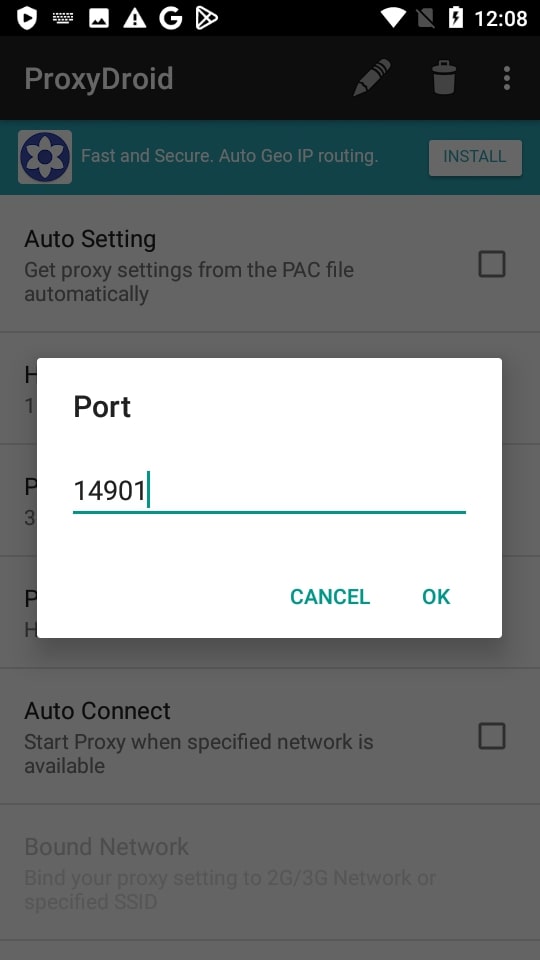
- Click “Port" and enter it.
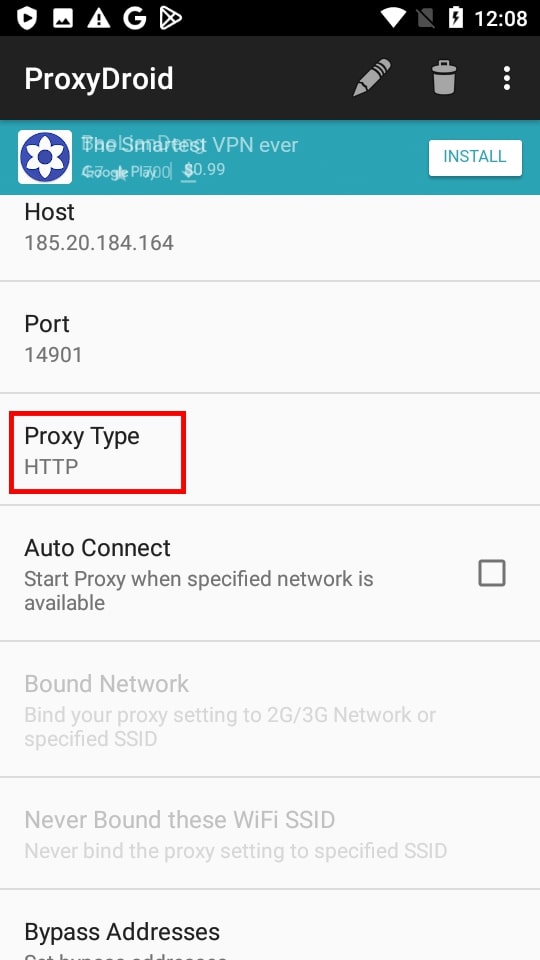
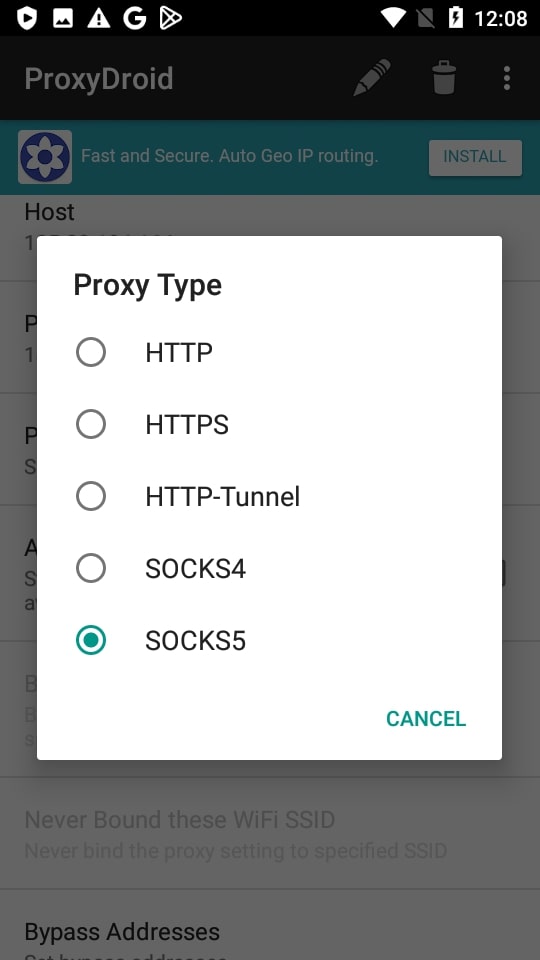
- Click the “Proxy Server type” and select it. We had IP of the Socks 5 protocol.
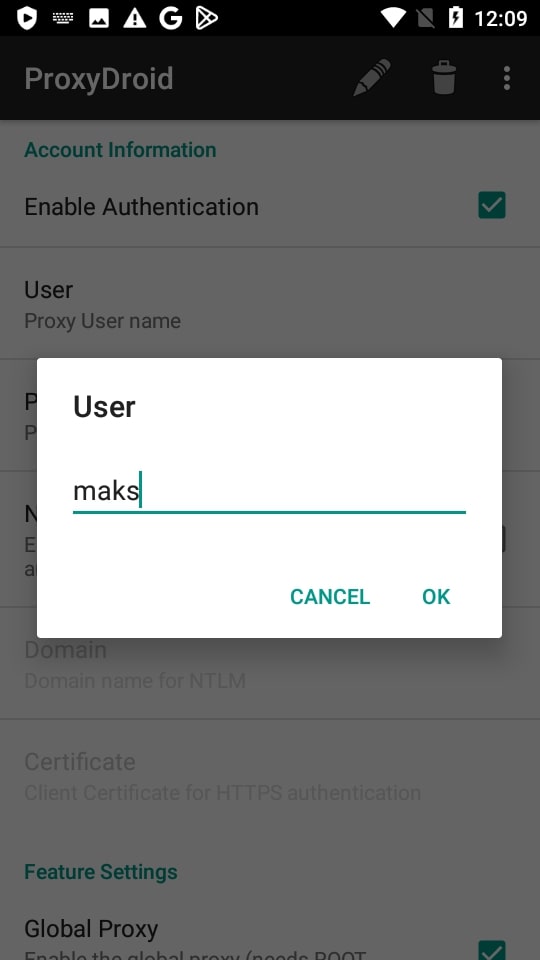
- Scroll down and check the box next to “Enable Authorization".

- Specify the username.

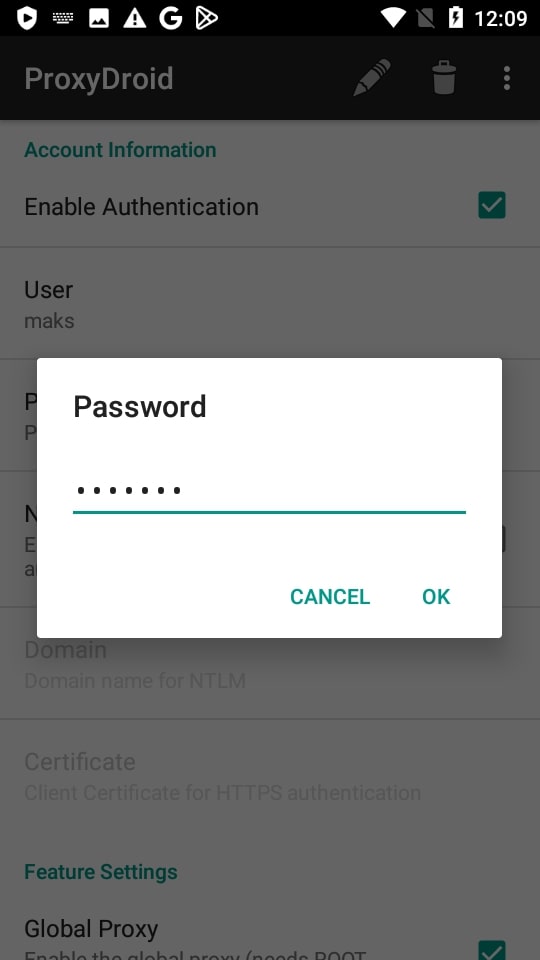
- Enter the password.

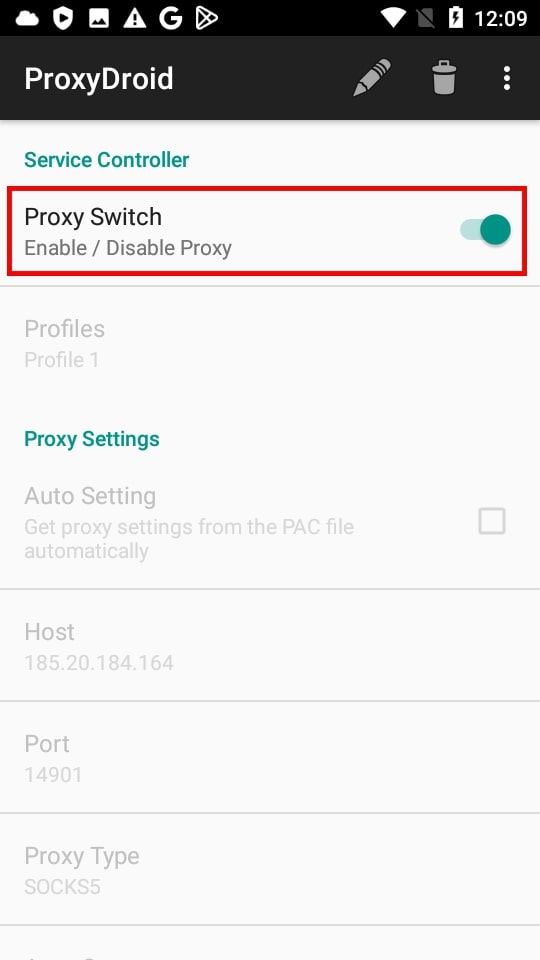
- We scroll up and tap “On / Off.” Everything has turned gray, because there are no root rights.
Drony
In this application, root rights are not needed to configure a proxy on Android. Install the program and connect proxy.
We do the following:
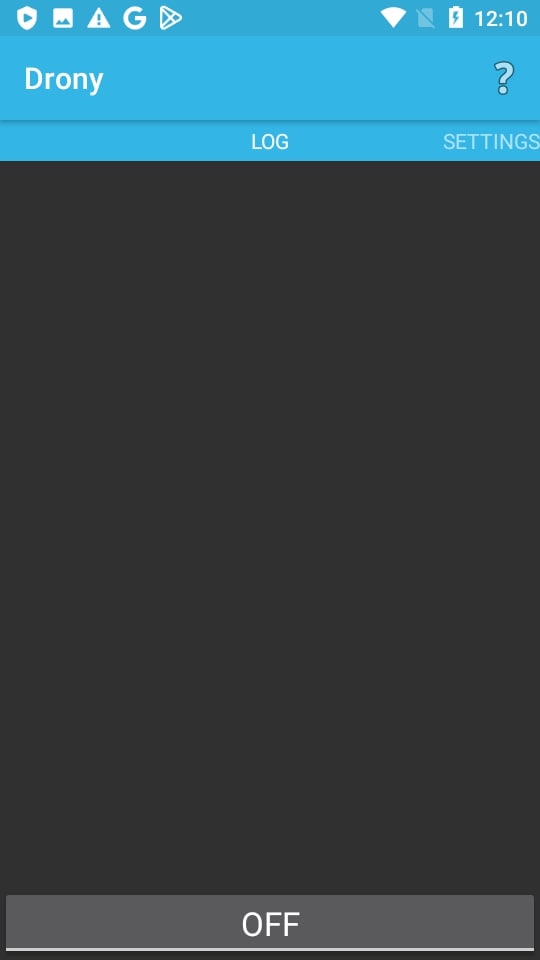
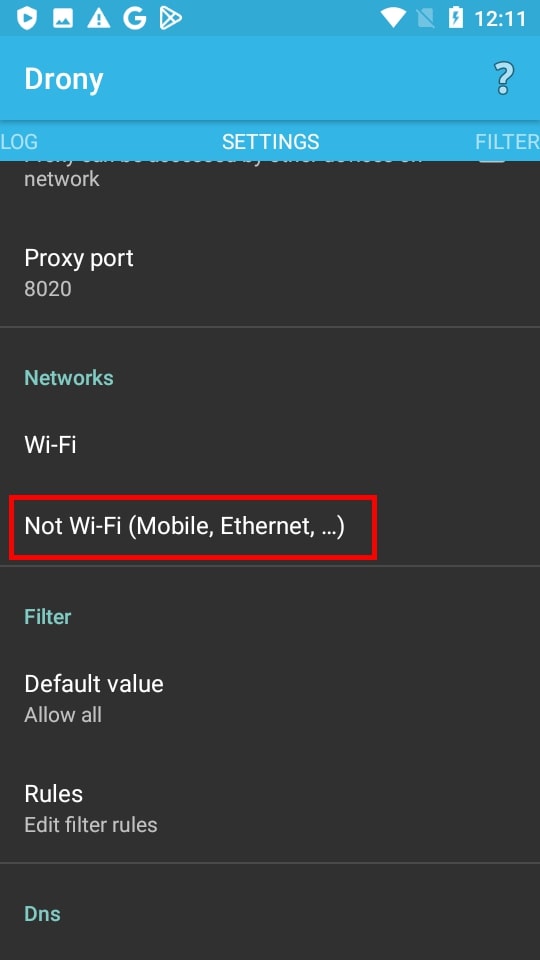
- Open "Drony". The Log section will appear in the program. Swipe left. We will see the “Settings" section.
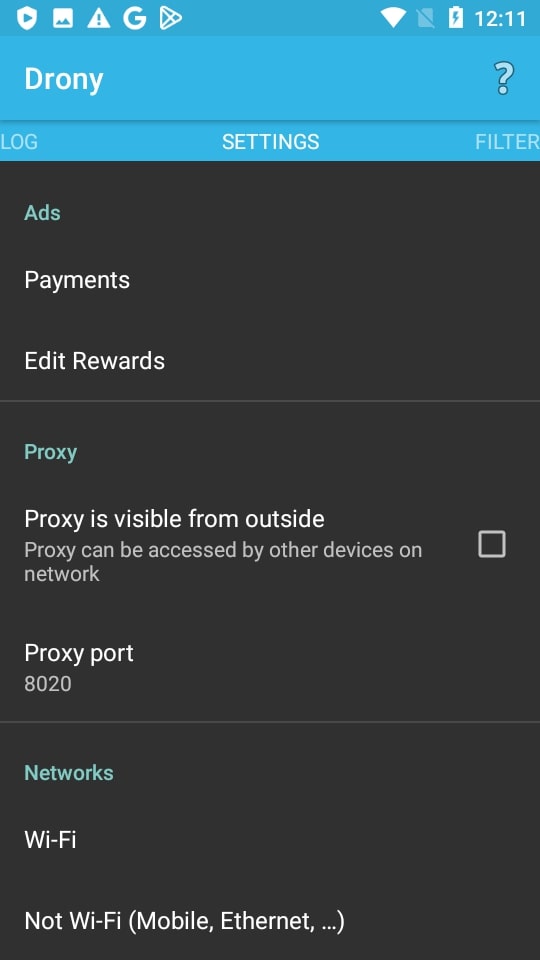
- Select “Not Wi-Fi".
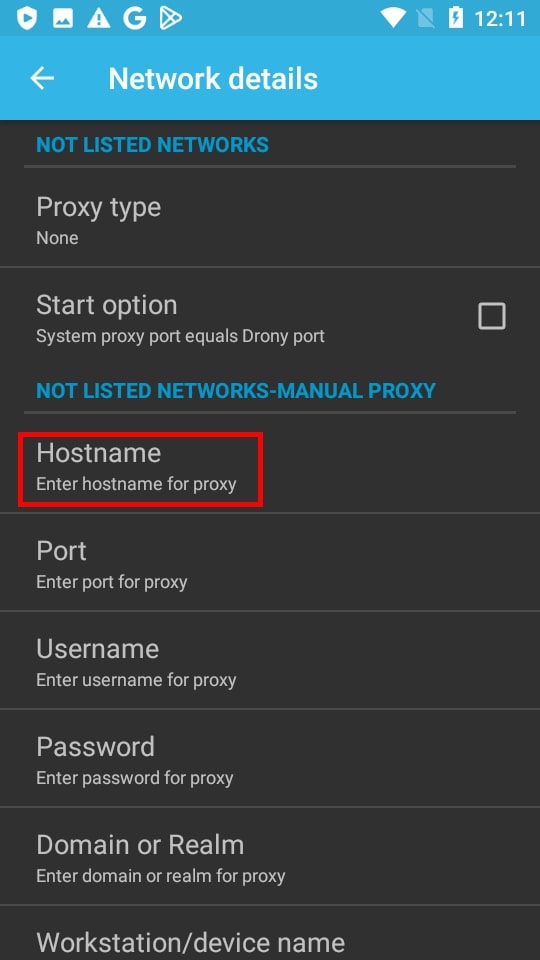
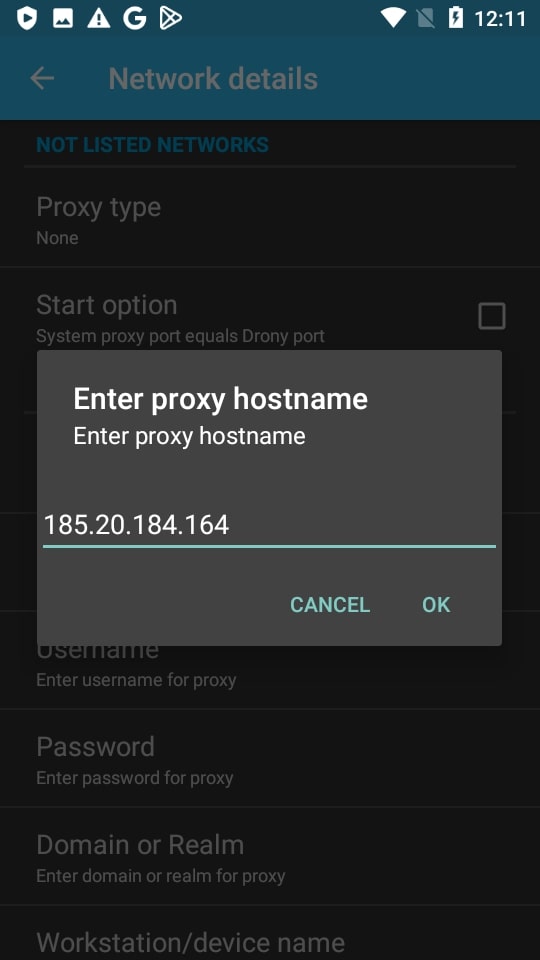
- Click “Hostname” and enter the proxy IP address.
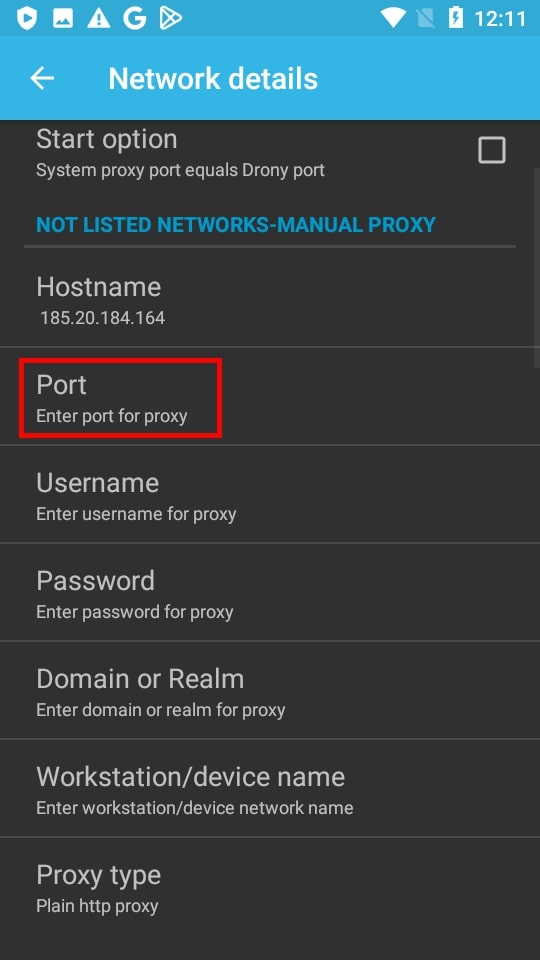
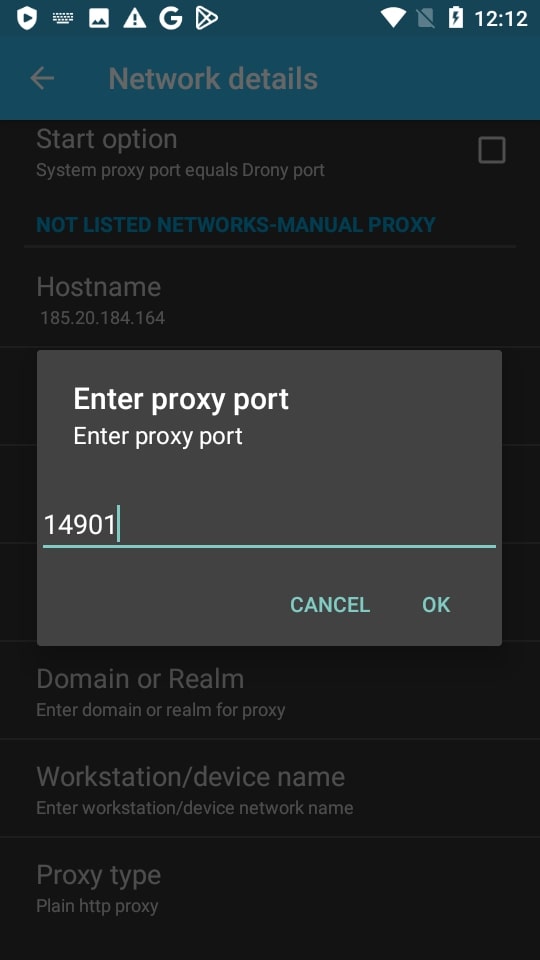
- Select the “Port” and enter it.
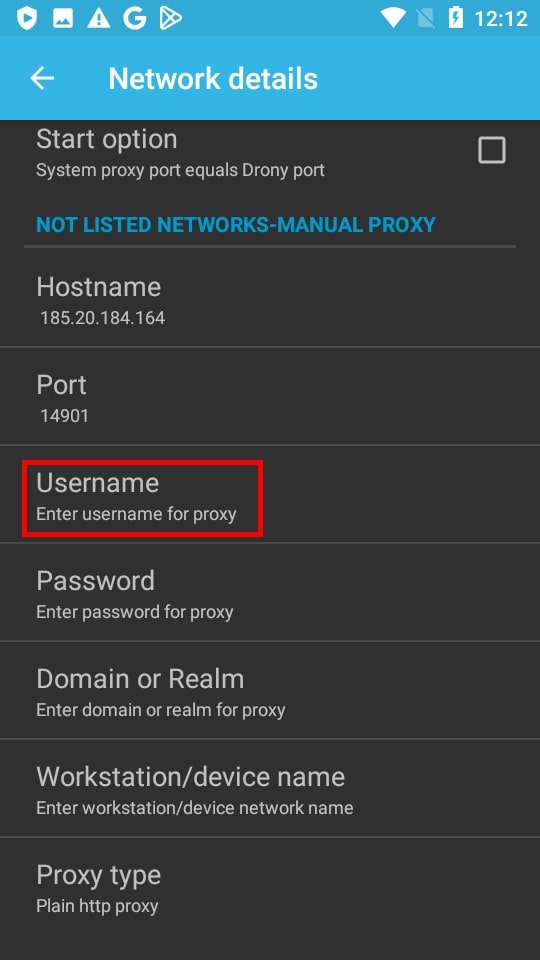
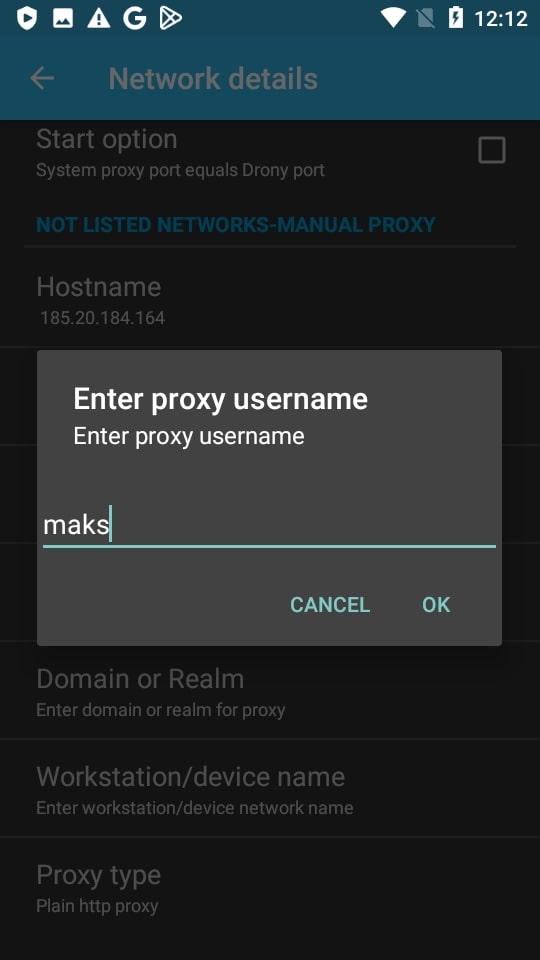
- Select the “Username” and enter the login of the intermediate server.
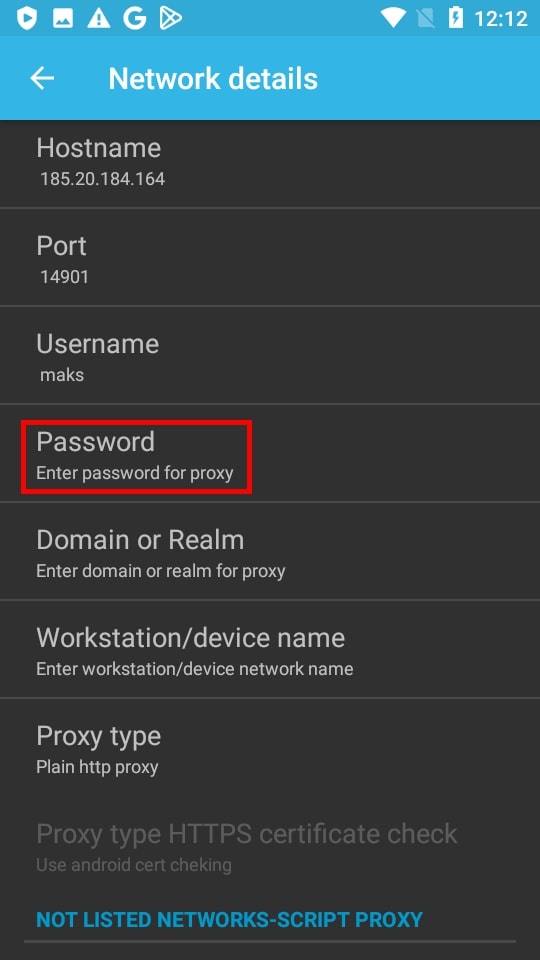
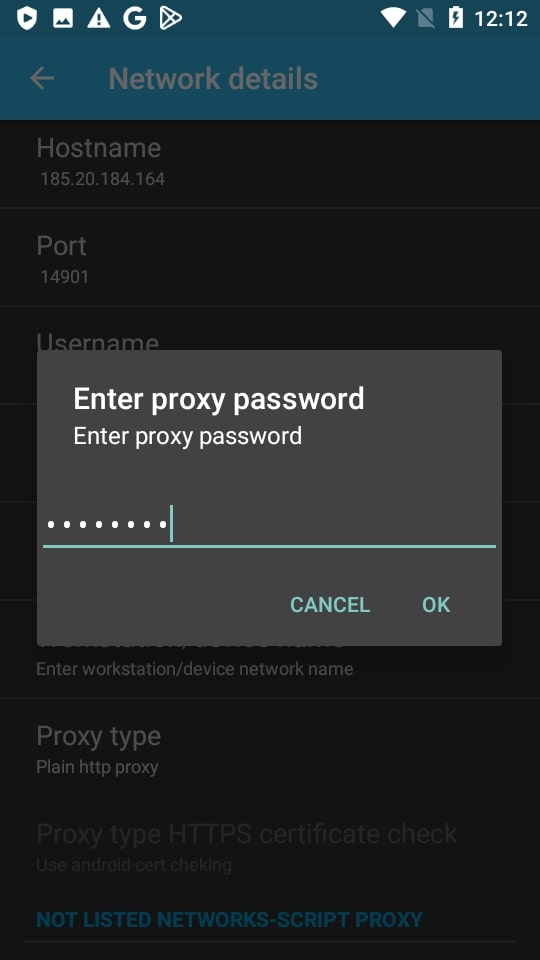
- Click “Password" and enter it.
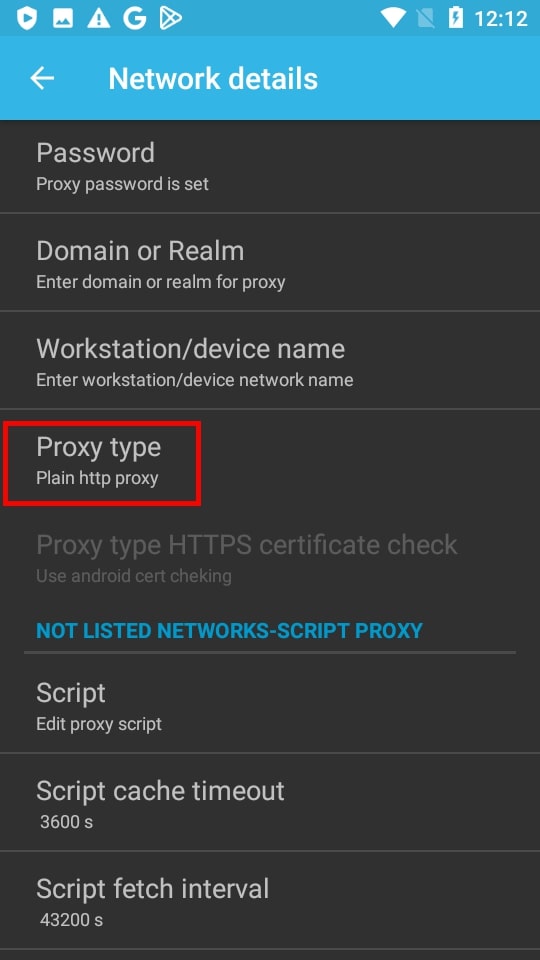
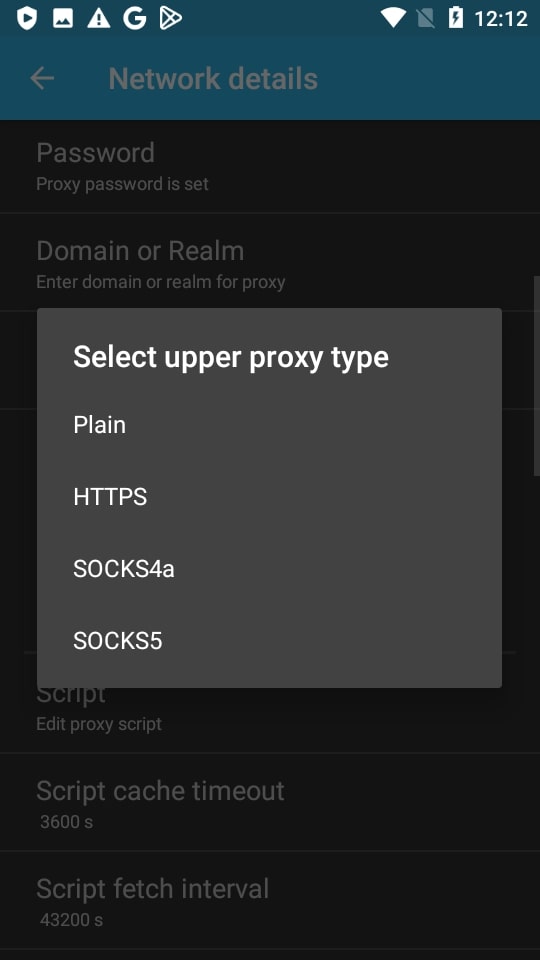
- Tap “Proxy type" and select the type of IP address.
- Go to the “Log" tab and click “Enable".
We see that the proxy is working.
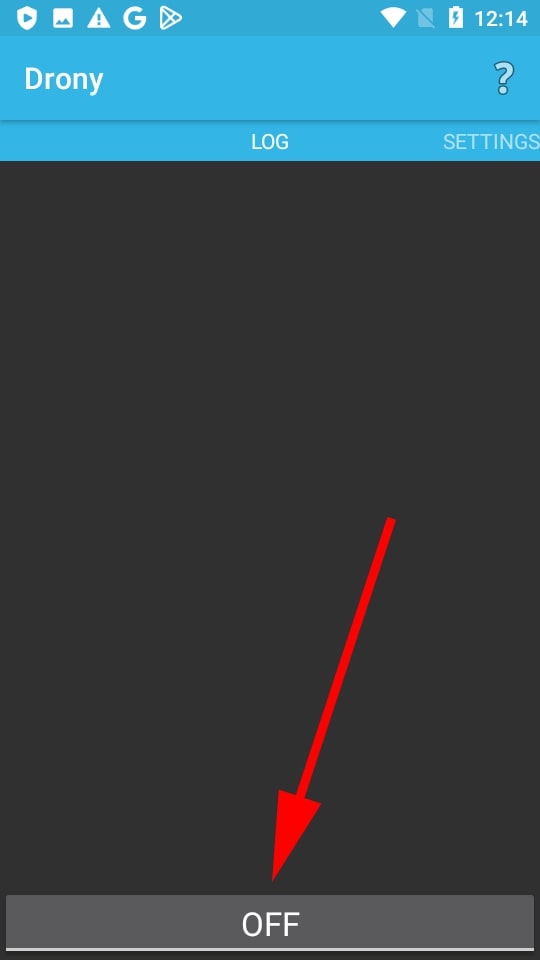
If you want to disable the IP address, click “Disable".
As you can see, the process of adding an IP takes less than a minute. You can buy USA proxies for Android on our website. We will help you choose the right protocol and IP type. To do this, write to technical support – it works 24/7 and is responsible for a maximum of 5 minutes. If you still have questions, ask them in the comments.