How to set up multiple proxies in one browser: detailed instructions
![]() To set up several proxies in a browser, you need to create new profiles and configure an IP address in every profile. Id est it all boils down to understanding how to create accounts in browsers. In this article, we will tell you how to do it and give you instructions on configuring IP.
To set up several proxies in a browser, you need to create new profiles and configure an IP address in every profile. Id est it all boils down to understanding how to create accounts in browsers. In this article, we will tell you how to do it and give you instructions on configuring IP.
To manual steps, we added screenshots for illustrative purposes. There are no screens only in steps where you need to do a simple thing, for example, click OK.
Google Chrome
Adding an IP address to Chrome consists of 2 steps. We will consider each of them.
Creating a New Profile
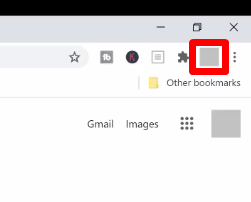
- Click on the User icon.
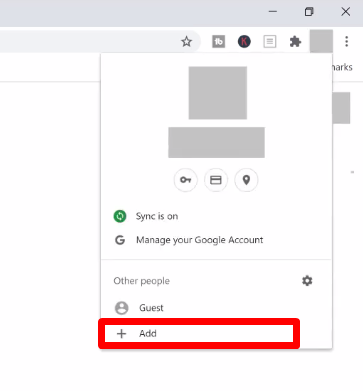
- Choose Add.
- Write the Username and click Add. Also, you can choose the image of the profile.
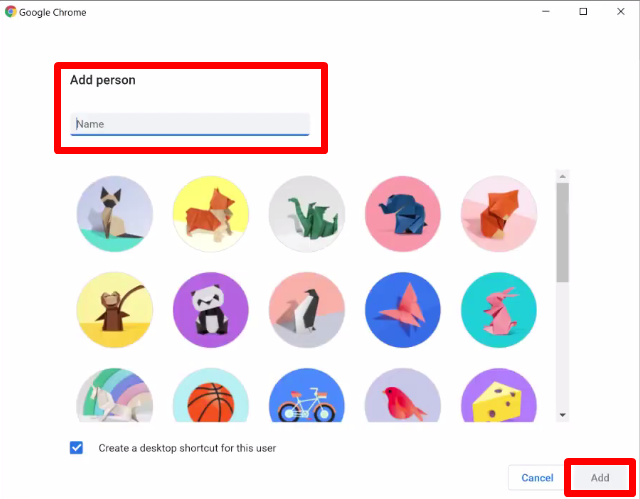
That’s all. You just need to set up an IP.
Configuring a Proxy
If there are several profiles, you need to configure proxies in each of them.
Why is that? When adding an IP address to one Account, it will work in all Accounts. Therefore, a plugin is the only acceptable solution for the browser. We’ll show you setting a proxy on the example of our own plugin, ProxyControl.
Do you need to install an addon in every profile? Yes! Creating a new account – installing a plugin. Creating the second one – do the same thing.
- Install ProxyControl. You can download it here.
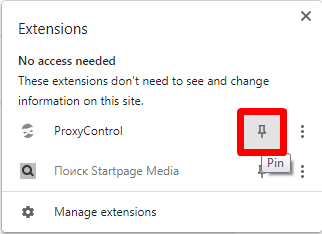
- Click on the puzzle icon.
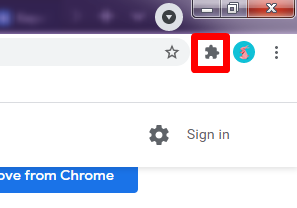
- Pin the addon on the icons panel.
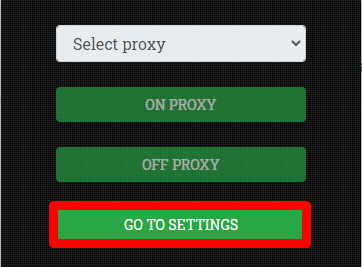
- Click on the plugin icon and choose Go to settings.
- Upload an IP address. You can do it in 3 ways (look at the screenshot). Using API-key, you can add several IPs. With the first 2 methods proxies are adding apiece. We’ve already written about configuring proxy in ProxyControl.
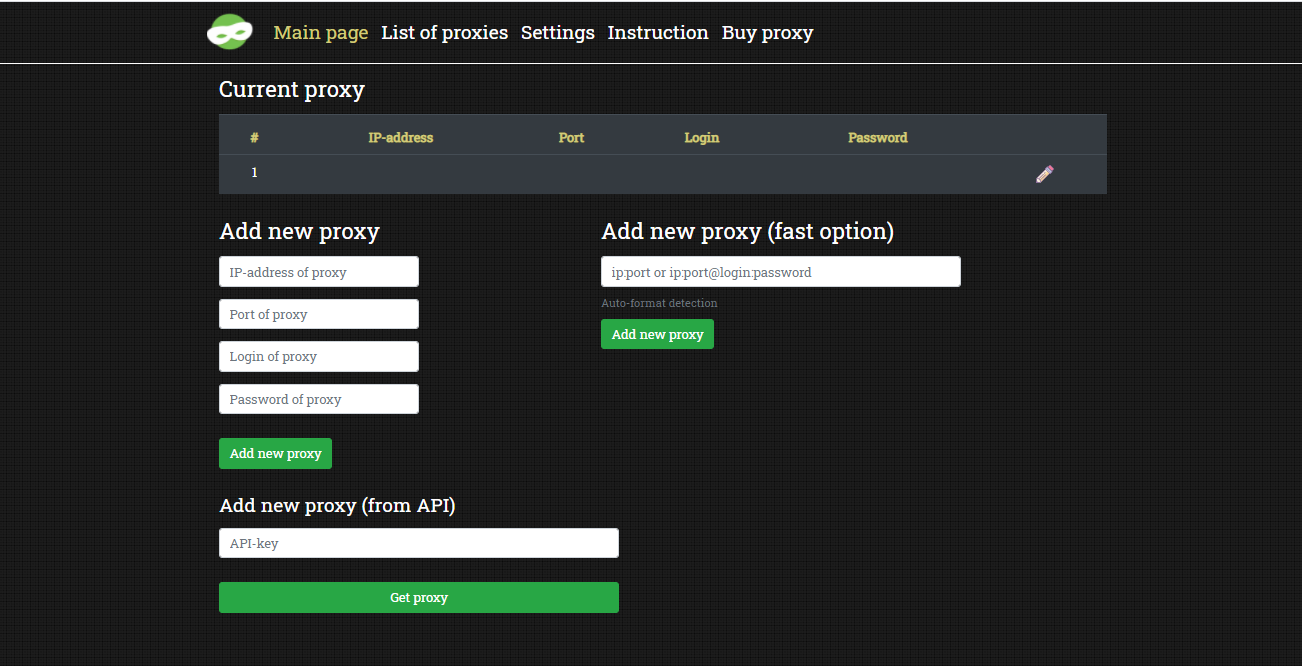
At the top of the screen, you will see the list of current proxies. Now you can create a new profile and do the same.
Be careful: the plugin supports only HTTPS addresses.
Mozilla Firefox
Configuring a proxy in Firefox consists of 2 steps. We’ll tell you about each of them.
Creating a New Profile
Do the following:
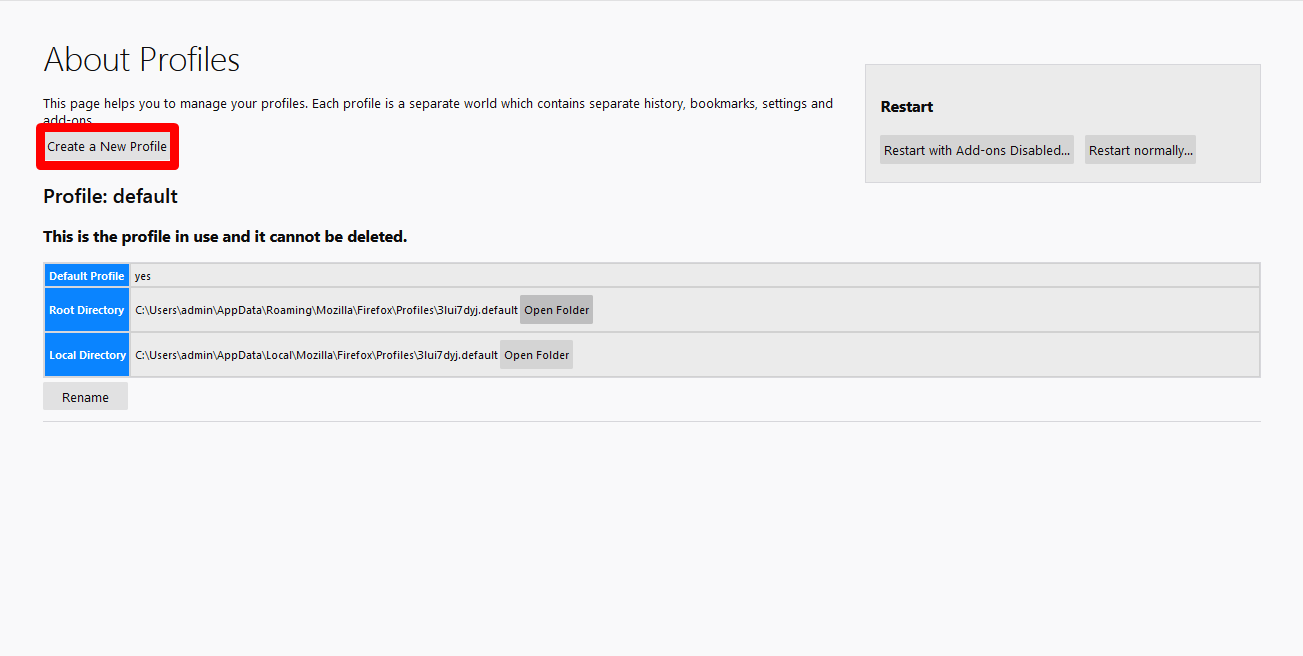
- Open address bar and write about:profiles.
- Click Create a New Profile.
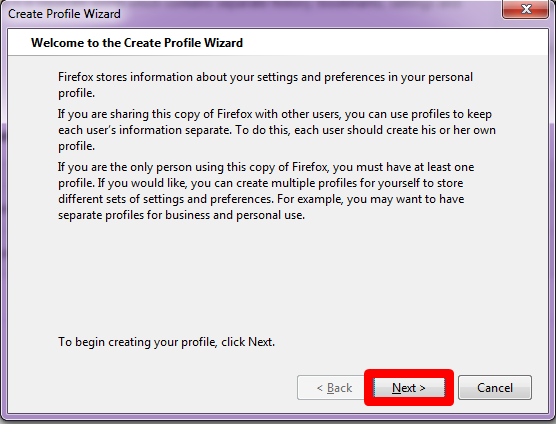
- Click Next.
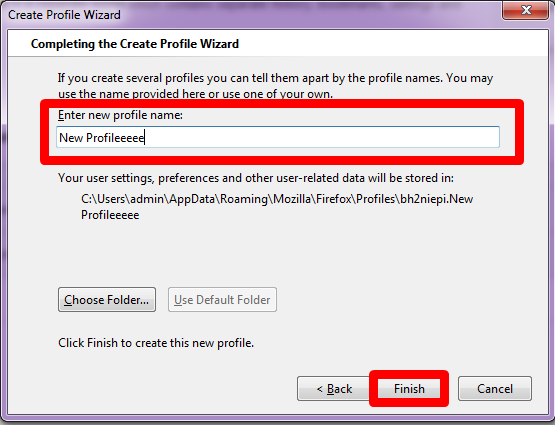
- Write the name of the new profile. Click Finish.
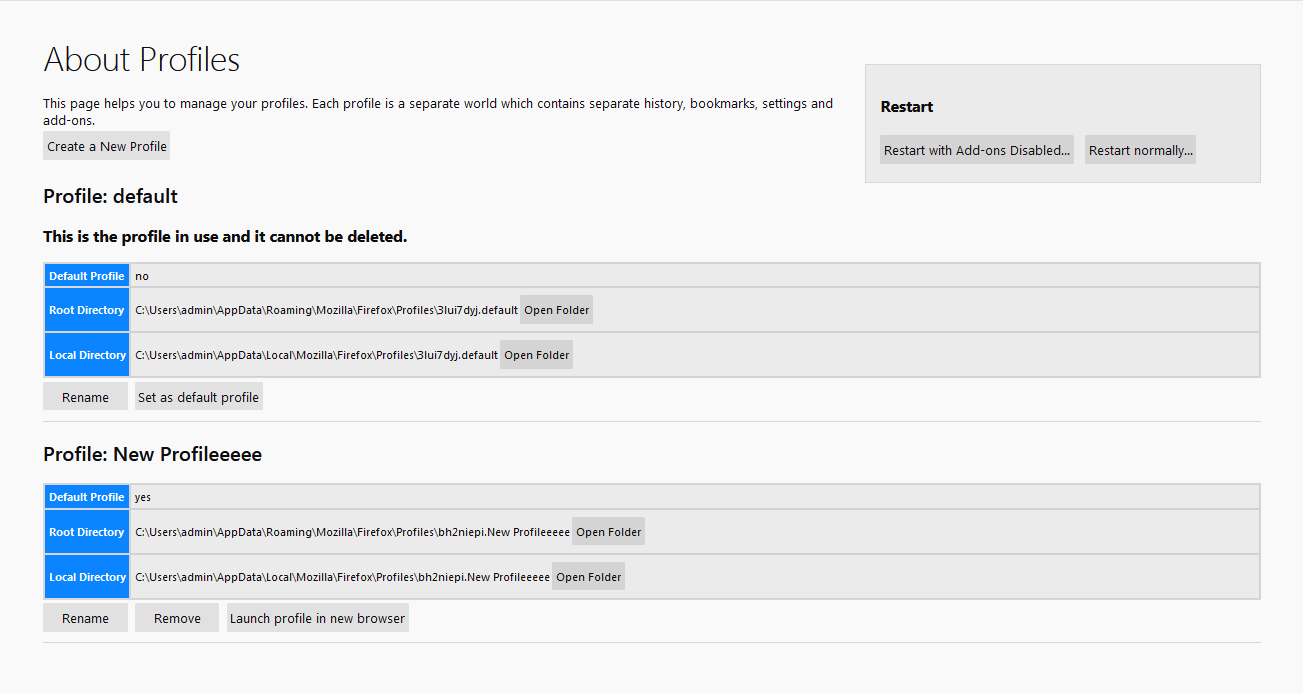
- You will see current Accounts.
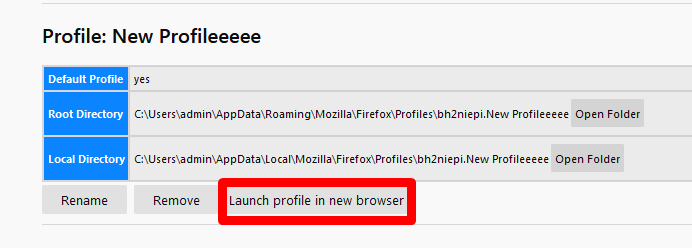
- Click Launch profile in new browser.
Now it all boils down to setting up an IP address.
Configuring a Proxy
You can set a proxy in Mozilla Firefox in 2 ways: standard and by helping a plugin. We’ll show the second method because it works for 100% of users. In the case of the standard method, not always users see the window for writing the login and the pass of an IP, so they can’t work in the browser via proxy.
Therefore, we’ll show you the instruction on the example of the FoxyProxy Standard.
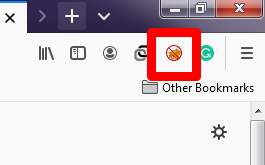
- Click on the FoxyProxy icon.
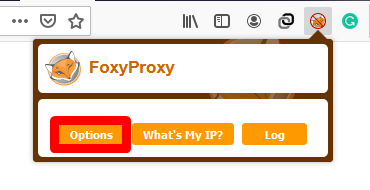
- Choose Options.
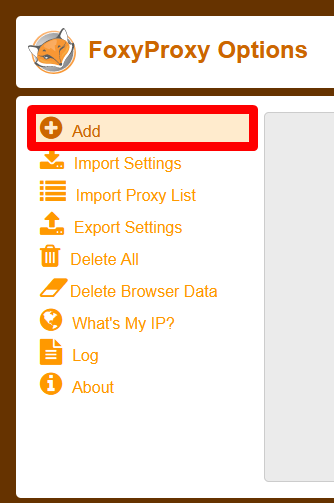
- Click Add.
- If you will switch proxies, name each of them to not get caught up in them.
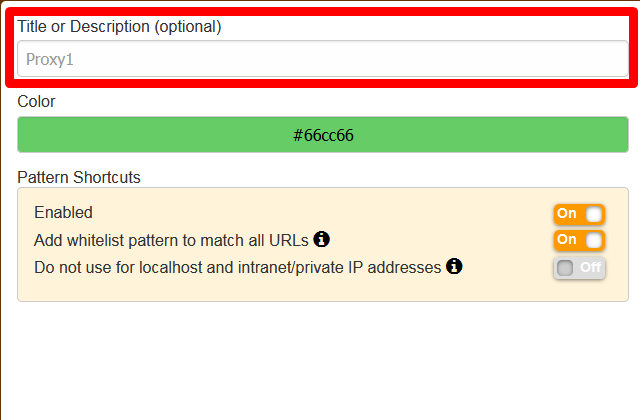
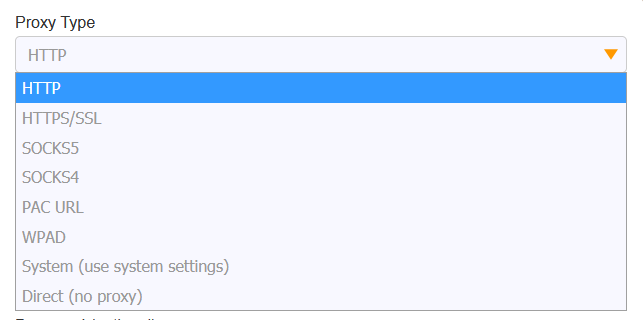
- Choose the type of IP.
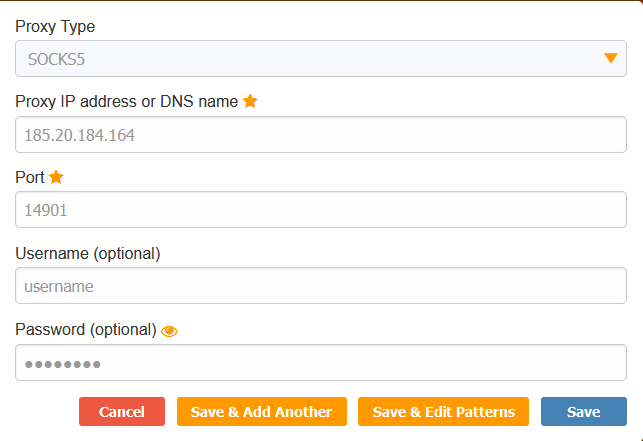
- Tape the IP address, port, login, and pass of the proxy. Click Save.
- You will see the main page. Choose from added proxies you will use now. If you added the single one, choose it.
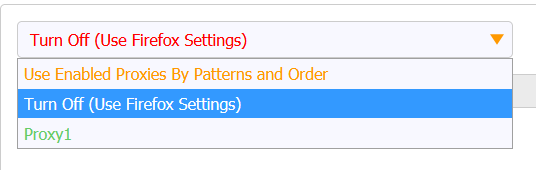
- If there will not be a connection with a proxy, refresh the page and choose the proper IP again.
Then click What’s my IP?
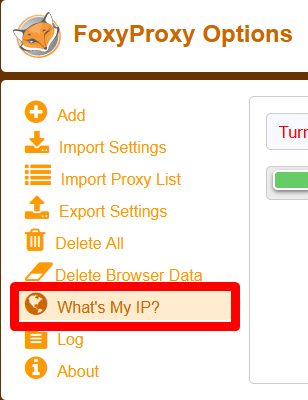
If you see the address of your proxy it means that all works.
Safari
It is impossible to create new profiles in Safari. You only can open a new tab in a private screening. It will turn out like this: one tab will be with your own Facebook profile, and the other with a working account.
Buy anonymous proxy you can on our site. Our IP-address suite for Google Chrome, Mozilla Firefox, Safari, Яндекс.Браузер, Internet Explorer and other. If you don’t know what type of IP to choose, we will help you. Support is working 24/7 and answers in less than 5 minutes.